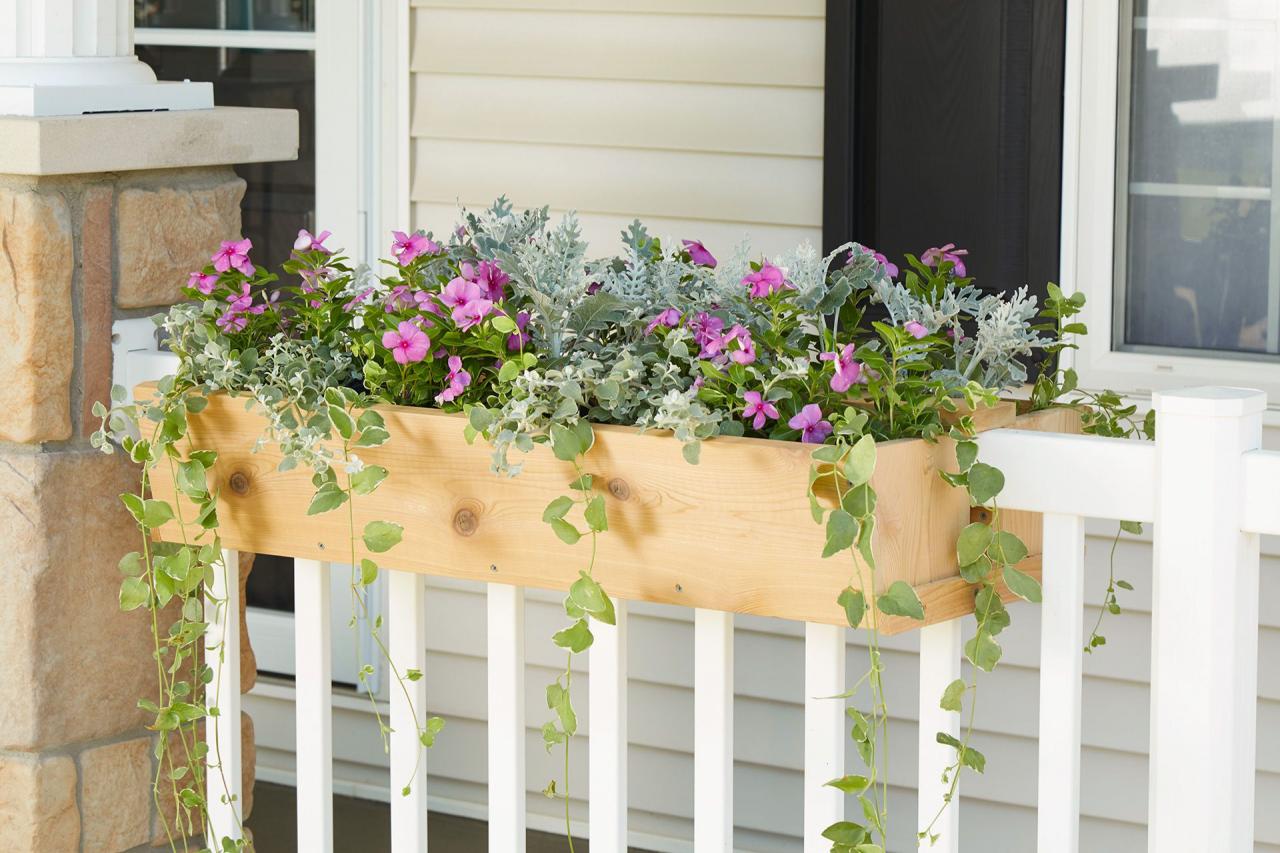
Looking for an easy, low-cost method to upgrade your front patio? This custom railing planter is your summer season solution for curb appeal that lasts all year. Unlike lots of store-bought options, these DIY planter boxes for railings can be adjusted to fit your deck’s size and style. Follow along as we reveal you how to build and set up a simple deck rail planter.
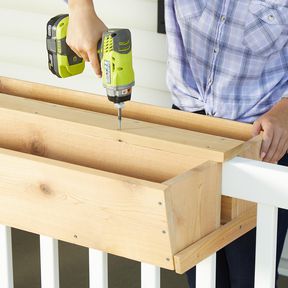
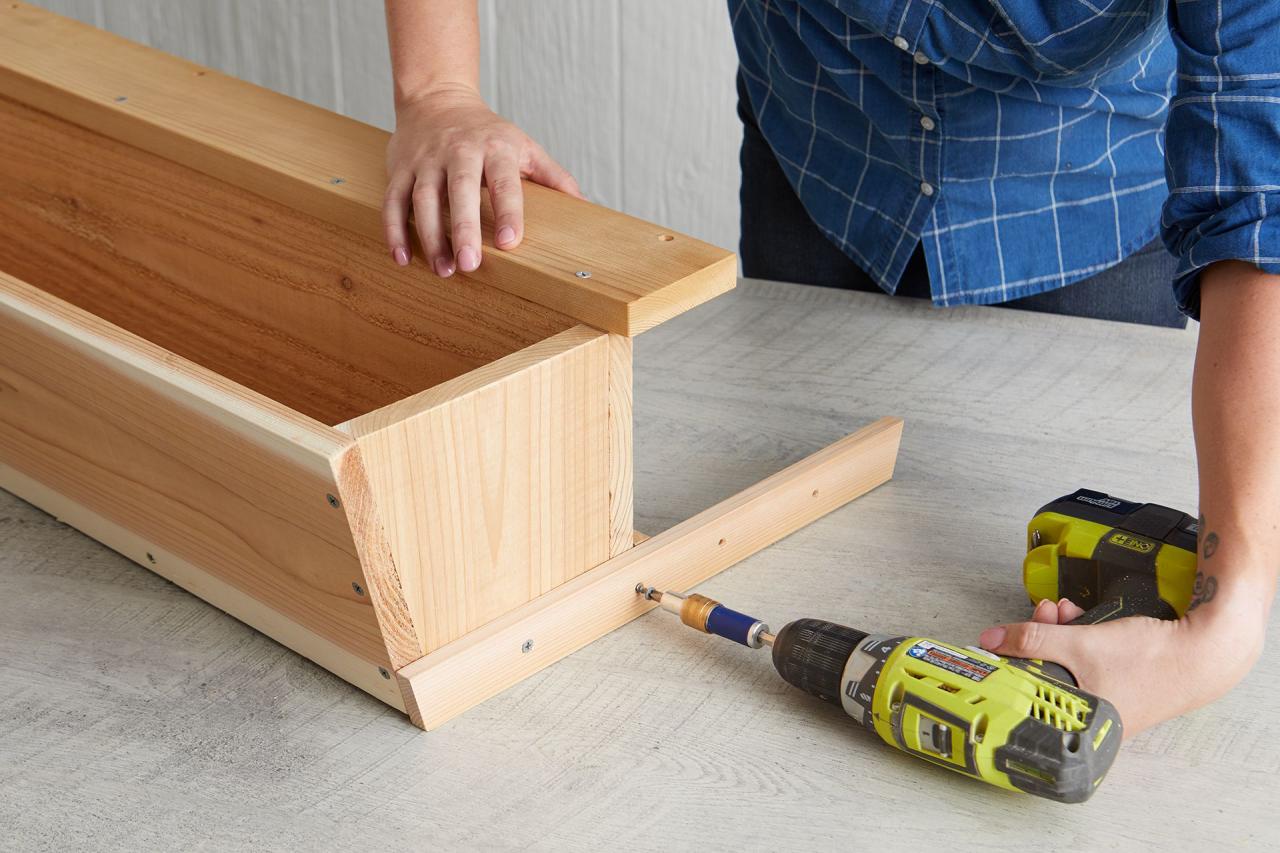
The 1/2 x 1-1/2- inch cedar board will likewise be utilized to develop a brace for each planter. Utilize it to cut 2 boards that are the very same length as the planters. Add a brace to each planter’s back and bottom edge utilizing wood screws.
Editor’s Tip: The bottom brace should be thick enough to touch the spindles attached to the railing, so the planter rests comfortably against the spindles. In our case, the 1/2-inch cedar board was a best fit. Depending upon the width of your railing, this might need to be changed.
Step 4: Add Top Connector
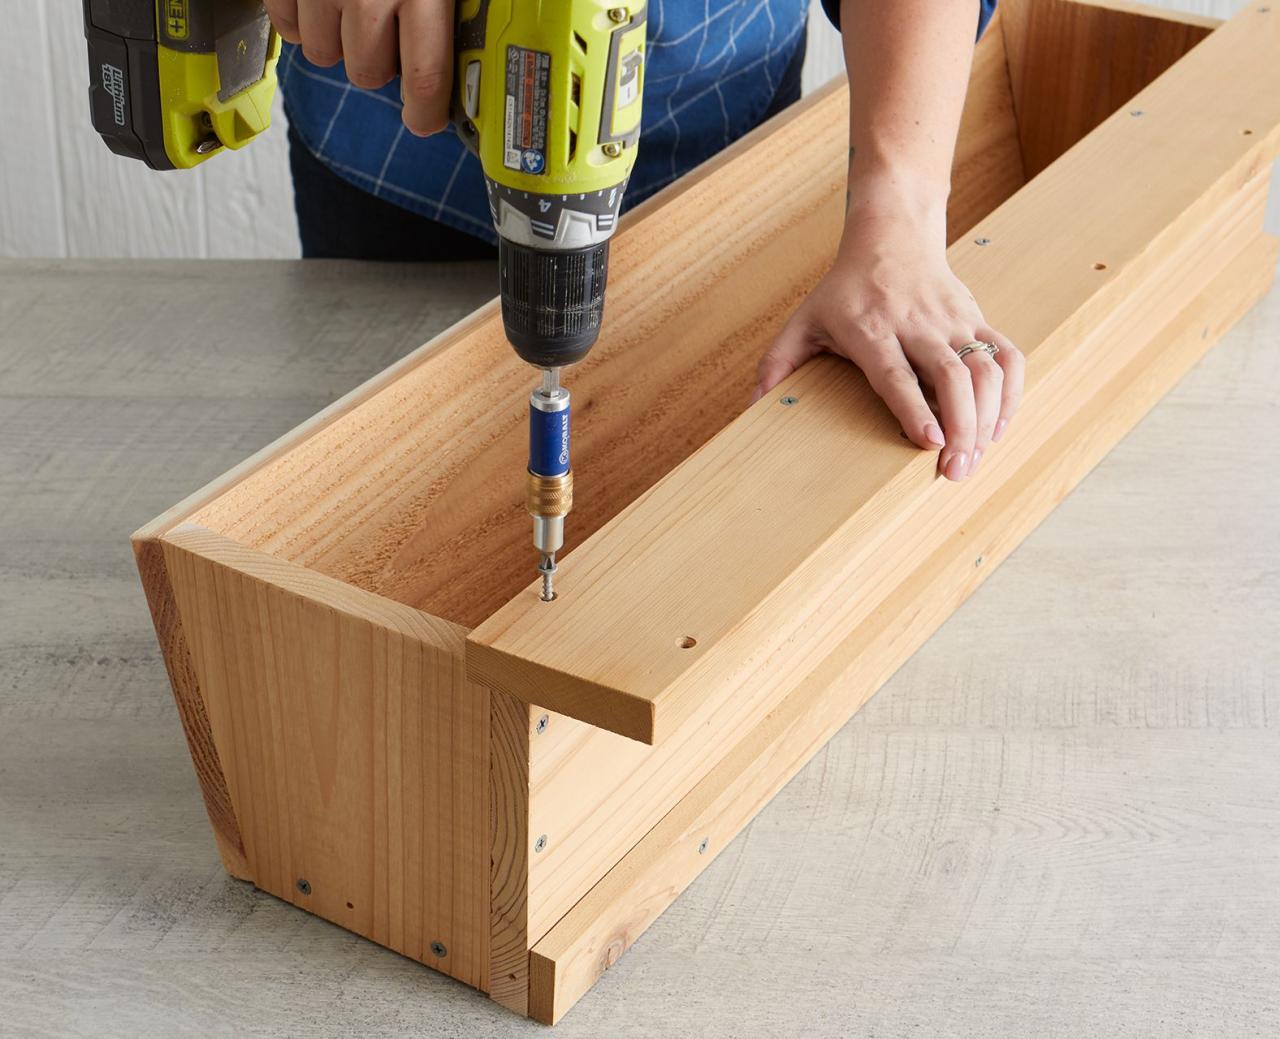
Attach the 1 x 4-inch board to the top of one window box along the back length. Make sure all edges are lined up. Pre-drill all holes prior to screwing them together; do not protect with glue.
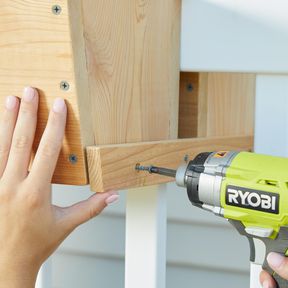
Step 5: Attach Side Braces
Pre-drill and screw a brace to either side of the window box with the leading port. Line up the angled side to the angled bottom edge of the flowerpot. One flowerpot must now have both side braces, a back brace, and the top adapter board attached.
Action 6: Install on Railing

Head to the setup site with an assistant. Hold the window box with the braces on one side of the railing, sliding the side braces through the balusters. Position the second window box on the other side. Attach the second flowerpot to the side and top braces.